All Articles
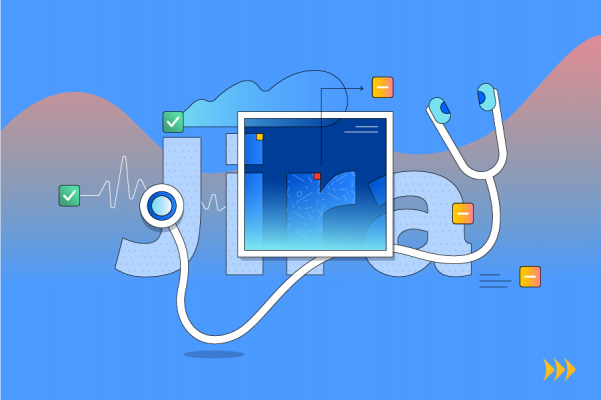
How to migrate Jira project to another instance without disrupting your teams
Atlassian team
The situation when the Jira admin wants to migrate a project to another instance is quite common.
For example, on the web, you can often come across stories about how initially the company made a choice in favor of Jira Cloud as a simpler solution, and later it was decided to migrate the project to a more productive Jira Server or Data Center. 
Moreover, in different cases of the migration process, there can be many distinctions. For example, sometimes you only need to transfer a few fields from the source Jira, and sometimes you need to ensure a complete transfer of the data.
Perhaps, the only condition that is observed in almost any case is a desire to keep your team undisrupted. Moreover, if we are talking about the transfer of large projects, this can directly affect income and cause significant damage to the entire work process. Therefore, today we will talk about how to transfer a Jira project to another instance without distracting your team. We will look at several basic methods and try to compare them.
First things first
Regardless of which tool you will use (or even transfer everything manually), you need to thoroughly prepare for the merge process. Imagine that you are migrating a Jira instance with the name of “Project1” to a new instance called “Instance2”. To do this, you should take the following steps:
Analyze your current workflow
This is the first step towards the merge. You need to understand which processes in the current workflow can be paused, and which should not be interrupted. Depending on this, it will become clear which fields and details of the project can be transferred without fear of tearing off your team from work, and which ones must be migrated smoothly and safely for the workflow.
Back up everything you need
The most important point is not to forget to back up the data from Project1. A good solution would also be to close access to your instance before the info back up, in order to avoid possible data damage. The backup itself can be carried out in the form of XML, since this format can then be easily used on the new Jira instance, regardless of the versions of the two platforms.
However, there is a problem, XML backup does not save some directories, and specifically – attachments and applications one, so they will have to be saved separately. Most of these directories are stored on system drives (in Windows – in the Atlassian folder). They can simply be transferred to another disk or archived. After that, do not forget to manually add them to the new Jira instance before transferring the main data.
Set up a new instance
We create our Instance2. If you want your new instance as Jira Server, you need to download the installer. If your choice falls for Cloud server, then a new Instance can be created online. Also, you can find a complete guide to installing the new Jira Data Center instance here.
Choose the migrating method
There are many ways to migrate your Jira project, even manually, but we will consider two of the most convenient and popular services.
Project Configurator
Project Configurator (PCon) is an application that was designed to fully automate the process of instances’ migration. In order to carry out such a transfer, you need to make sure that the application is installed in both instances. You can find the app in Atlassian Marketplace following the link above. A positive moment is that when working with PCon, you aren’t obligated to purchase a license for both instances, having only the target project licensed.
Once you have disabled all email notifications (no need to spam), you can proceed with the direct migration. To begin with, in order to understand the dependencies that exist between objects in your instances, run a special report. After that, it would be good to check both instances for any critical non-coincidences via the Import Conflict Detection report. This will help you identify any conflicting files and fields that might interfere with the automatic import.
Besides these two operations, you can also conduct a migration simulation in order to finally make sure that everything works as it should. We will touch on this a little lower. Now, let’s proceed to the process itself:
- In our Project1 (home instance), click Add-ons -> Export Projects.
- Choose the projects you wish to transfer. Any settings and details can be changed in the Export Options menu.
- Click Export Complete Project. The process will begin, but you will need to wait a while, depending on how large the selected projects are.
- Open your Instance2 (target instance) and create a new project folder there. Next, copy there the zip file that you received after waiting at the previous stage.
- Being in administrator rights in Instance2, click Add-ons -> Import Projects.
- As before, any options can be configured in Options column.
- Here, you can run the migration simulation. If everything suits you, click Import Complete Project. You will see the information regarding the changes that will be implemented in Instance2 after data migration from Project1.
- Confirm everything you see and click Next. After a while, the migration process will be completed, the results of which you can see in your Instance2 dashboard.
And although PCon is really convenient, it isn’t ideal, since the work of teams will be interrupted for a period of time, which depends on the complexity of the process. Therefore, either it is worth migrating on weekends or at night (at any time when the teams aren’t working), or use the second method.
Watchtower
Watchtower is another tool from the Atlassian marketplace that allows you to manage multiple Jira instances from a single dashboard. The tool also allows you to transfer Jira Service Desk projects and settings.
Like the previous tool, Watchtower helps automate the process of migration, while not interrupting the teams from work, since the manager can be involved in the migration, while the rest of the team can keep working on the old instance. The migration process itself is launched with a few clicks and allows you to duplicate any configurations, fields and projects in different instances. In management, this tool is as simple as Project Configurator, so Jira administrator will not have any problems with its management.
Final words
These two tools allow you to complete the Jira instance migration process with maximum convenience, both for managers and for the rest of the team. Which one to use is up to you, since this question is subjective and depends on the complexity and size of instances and the migration process itself.
The main thing to remember is that today, unlike a couple of years ago, the migration of Jira instances can occur in just a few clicks and not cause any headache. The result of this migration will also be satisfactory.
Atlassian team

Stay on Top of the Latest IT Software Development Tips, Newest Offshore Trends, and Best Outsourcing Practices.
Upgrade and Migration
IT Doctors: Consult Your Client About Jira Cloud Migration
While working with one of our clients, we came to the conclusion that the manner in which Doctors provide a diagnosis of their patients’ illnesses or conditions is very similar to the way in which we work with our clients. Read more …
Upgrade and Migration
What’s on your roadmap for cloud migrations: whether go forth or not?
Dear Partners, Customers, and Friends! You might have already heard the recent news regarding the End of Sale for Atlassian Server and New Prices for Server and DC. Read more …

Upgrade and Migration
Ensuring data consistency on migration projects with Jira
Are you working with several Jira instances and continuously switch between them? Read more …